











From download to a finished MP4 in about fifteen minutes. This guide covers setup, a clean first take, quick edits and export.
Steps
- 1
Download and open the app
Download Make It a Video for Mac (macOS 15 or later), unzip it and drag it into Applications. The first time you open it, follow Install and open the app because the app isn’t notarised by Apple yet.
- 2
Sign in
Sign in when the app opens. Your account opens the app; your projects and recordings stay on your Mac.
- 3
Allow screen and microphone access
macOS asks before any app can record your screen, camera or microphone. Allow them in System Settings → Privacy & Security if asked. See Mac permissions.
- 4
Set up the recording
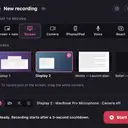
Choose New recording, pick Screen + cam (or Screen), and choose the screen or window from the live pictures.
- 5
Record a ten-second test
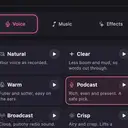
Record a few seconds and play it back. Check that your voice is clear and small text is readable.
- 6
Record the real take
Talk it through as if you’re showing one person. Don’t stop for stumbles; you’ll cut them by deleting the words.
- 7
Check the tidy
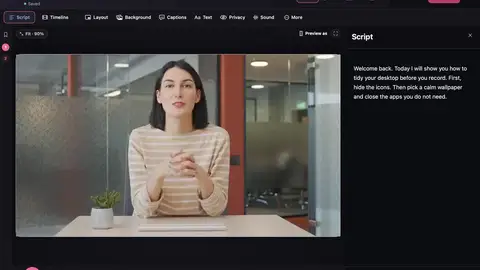
Automatic tidy has already cut ums and long pauses. Choose Review to see what changed, then delete any other unwanted words in Script. Undo is always there.
- 8
Style and export
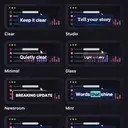
Add a background and captions, pick 16:9 or 9:16, then choose Export (⌘E) and save the MP4 to a folder you choose.
Common first-time problems
- The recording is black or shows only the wallpaper. Screen Recording permission is off. See Mac permissions.
- No sound. Check Microphone permission and the input you chose.
- macOS says it can’t check the app. Use Open Anyway as described in Install and open.